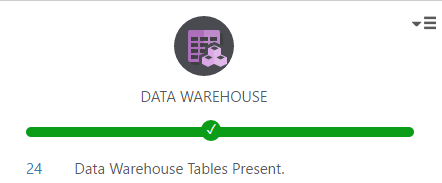
Viewing the data warehouse tables
After the data warehouse tables are created, you can view them by clicking the number to the left of the Data Warehouse Tables Present text in the Data Warehouse panel.

When you click the link, the Data Warehouse Tables window opens showing a list of all the tables in your data warehouse.
Compose for Data Warehouses adds RUNNO_INSERT and RUNNO_UPDATE columns to both the Data Warehouse tables and the data mart tables. These columns contains the ETL task run number, which can be used (in the Run Details window or in the Details tab) to find out more information about the task (e.g. the number of rows updated or inserted per table). Note that in hub tables and type 1 dimensions, the RUNNO_UPDATE number will usually be higher than the RUNNO_INSERT number as these tables do not contain any history. In satellite tables or type 2 dimension tables however, the RUNNO_INSERT number and the RUNNO_UPDATE number will always be the same as a new row is inserted for each update (i.e. history is retained).
Data Warehouse views that contain both hub and satellite data will contain two RUNNO_INSERT and two RUNNO_UPDATE columns. The hub table RUNNO columns are appended with an "_H" (e.g. RUNNO_INSERT_H) while the satellite table table RUNNO columns are appended with an "_S" e.g. RUNNO_UPDATE_S).
In the data mart tables, the RUNNO_INSERT/RUNNO_UPDATE column names are prefixed by the table name e.g. ORDERS_RUNNO_UPDATE.
To view a specific table, simply double-click the table.
Apart from the Date and Time tables which are automatically populated on creation, the other tables will be empty until you run the data warehouse task.
See Controlling data warehouse tasks below for information on running a data warehouser task.
In the <Table Name> window, you can perform the following tasks:
- Choose how many rows to display from the Rows drop-down list.
- Click the Column Settings button to choose to choose which columns will be displayed and the order in which they will be displayed.
